Maintaining the health and efficiency of your laptop is essential for its longevity. Over time, dust accumulates inside, potentially causing overheating and slowing down performance. Regular cleaning can ensure that your device continues running smoothly. This article offers a step-by-step guide to safely disassembling and cleaning your laptop.
Preparing for Disassembly
Before diving into the disassembly, there are some preparatory steps to ensure safety and efficiency:
- Turn Off and Unplug: Always start by shutting down the laptop and unplugging it from any power source.
- Gather Necessary Tools: Typically, you’ll need a set of small screwdrivers, canned compressed air, and a soft cloth or brush.
- Backup Your Data: While this step isn’t directly related to cleaning, it’s always a good idea to backup your data before working on your laptop. Any hardware maintenance poses a slight risk.
Remove the Battery
This step might not apply to all laptops, especially newer models with internal batteries:
- Unlock the Battery: Most older laptops have a battery lock mechanism. Slide or switch it to release the battery.
- Lift the Battery Out: Once unlocked, the battery usually pops up slightly, allowing for easy removal.
Access the Internal Components
The complexity of this step varies based on the laptop model. Here’s a general overview:
- Turn the Laptop Over: Most internal components are accessed from the bottom.
- Locate and Remove Screws: Find all the screws on the bottom of the laptop. These might be of varying sizes, so keep them organized.
- Pry Open the Back Panel: Using a plastic tool or your fingers, gently pry open the back panel. Be patient, and don’t use excessive force.

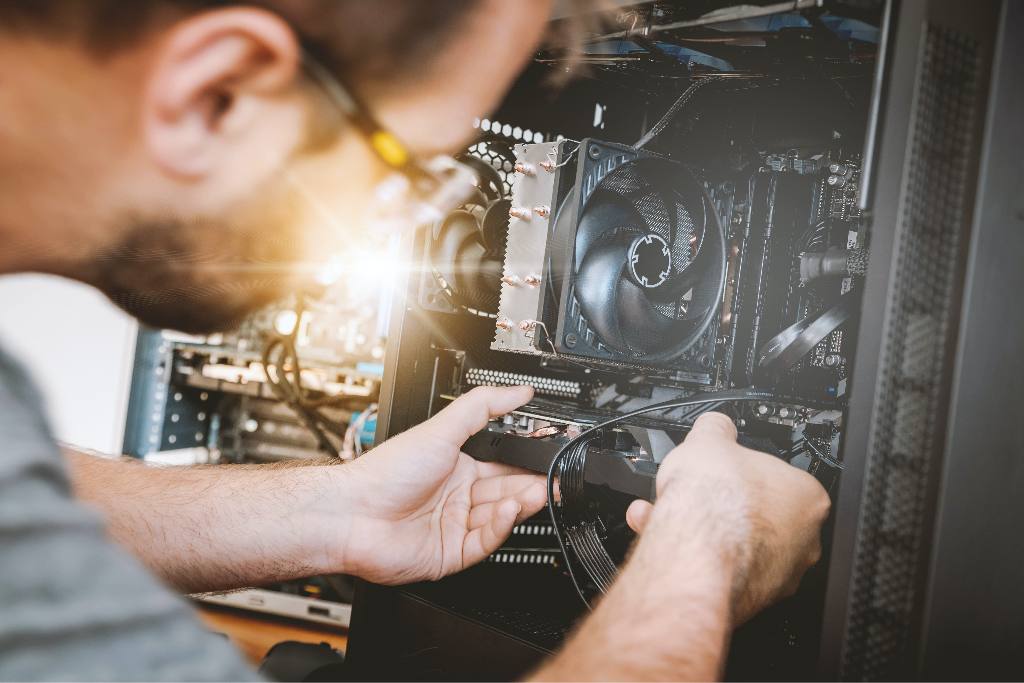
Cleaning the Components
Now that you have access:
- Dust Off the Fans: Fans accumulate a significant amount of dust. Using canned air, blow away the dust from the fans, ensuring you hold the fan in place to prevent it from spinning.
- Clean the Heat Sink: The heat sink, usually located near the fan, can also gather dust. Blow away any particles with your canned air.
- Wipe the RAM and Other Components: Using a soft, lint-free cloth, gently wipe the RAM modules and any other accessible components.
Reassemble Your Laptop
Once everything is clean:
- Place the Back Panel: Gently fit the back panel into its original position.
- Screw Everything Back: Return all the screws to their original positions. Make sure not to overtighten, as this could damage the plastic casings.
- Reattach the Battery: Slide or fit the battery back into its slot and lock it in place if necessary.
Cleaning the Keyboard
One of the most used parts of a laptop, the keyboard, can become a breeding ground for dirt and bacteria.
- Turn the Laptop Upside Down: Gently tapping the bottom can help dislodge larger particles or crumbs.
- Utilize Compressed Air: Angle the canned air to blow out debris from between the keys. Ensure that you’re spraying at a tilted angle to prevent liquid from the can from making contact with the keyboard.
- Wipe Down with Isopropyl Alcohol: For a more thorough cleaning, lightly dampen a soft cloth with isopropyl alcohol (at least 70%) and gently wipe the keys. This not only removes grime but also disinfects.
Screen Care and Cleaning
The laptop screen, being delicate, requires a different cleaning approach.
- Avoid Household Cleaners: Many common household cleaners can damage a laptop screen. Always use cleaners specifically designed for electronics or simple water.
- Use a Microfiber Cloth: This type of cloth is ideal for screens as it won’t scratch and effectively removes fingerprints and smudges.
- Wipe in a Circular Motion: When cleaning, wipe gently in a circular motion to avoid streaking.
Ports and External Connections
Dust and debris can accumulate in various ports, affecting the laptop’s connectivity.
- Identify All Ports: Familiarize yourself with all the external ports and slots on your laptop – USB, HDMI, headphone jack, SD card slot, etc.
- Use Compressed Air: Just as with the internal components, canned air is ideal for blowing out debris from these tiny spaces.
- Physical Inspection: Occasionally, ports can become damaged or blocked by foreign objects. Always check them visually if you’re experiencing connection issues.
By following these added steps, you ensure that not only the internal components but also the external surfaces and connections of your laptop are well-maintained. This holistic approach to laptop care can prolong the device’s life and provide a more pleasant user experience.
Conclusion
Regularly cleaning your laptop can improve its lifespan and performance. While the task might seem daunting, with patience and the right tools, it’s manageable. Always refer to your laptop’s specific user manual for model-specific instructions. Remember, a clean laptop is a happy laptop!